I'm going to show you how to make a simple blink LED with an Arduino with 1-second intervals,as shown below.

Step 1: What You Need:
1 x Arduino Board (Arduino UNO R3) (it can be any kind, but for this I use the UNO board).
1 x LED (can be any color)
1 x 330Ω Resistor
3 x Cables
1 x Computer with Arduino software installed
Download here: Arduino IDE
1 x Breadboard1 x USB cable
Don't have components? Don't worry. Just click the component's name.
 |
| Components requires - Photograph by Instructables |
Step 2: Attaching the Power Cables and resistor to the Breadboard
 |
| Connect the '5V' Power to breadboard - Photograph by Instructables |
 |
| Connect the Ground to breadboard - Photograph by Instructables |
(NOTE: It is very important to use AT LEAST a 330 ohm resistor with this circuit. If you don't, then you will almost certainly blow the LED.)
 |
| Place resistor on breadboard - Photograph by Instructables |
Step 3: Attach the control wire to the Breadboard
 |
| Connect control wire to breadbroad - Photograph by Instructables |
Step 4: Attaching LED
(Be warned, it will NOT do anything until you have uploaded the code to the board, which is done at a later stage.)
You have to put the 'LONGER' pin next to the wire connected to the port, and the 'SHORTER' pin next to the resistor.
 |
| Place LED to breadbroad - Photograph by Instructables |
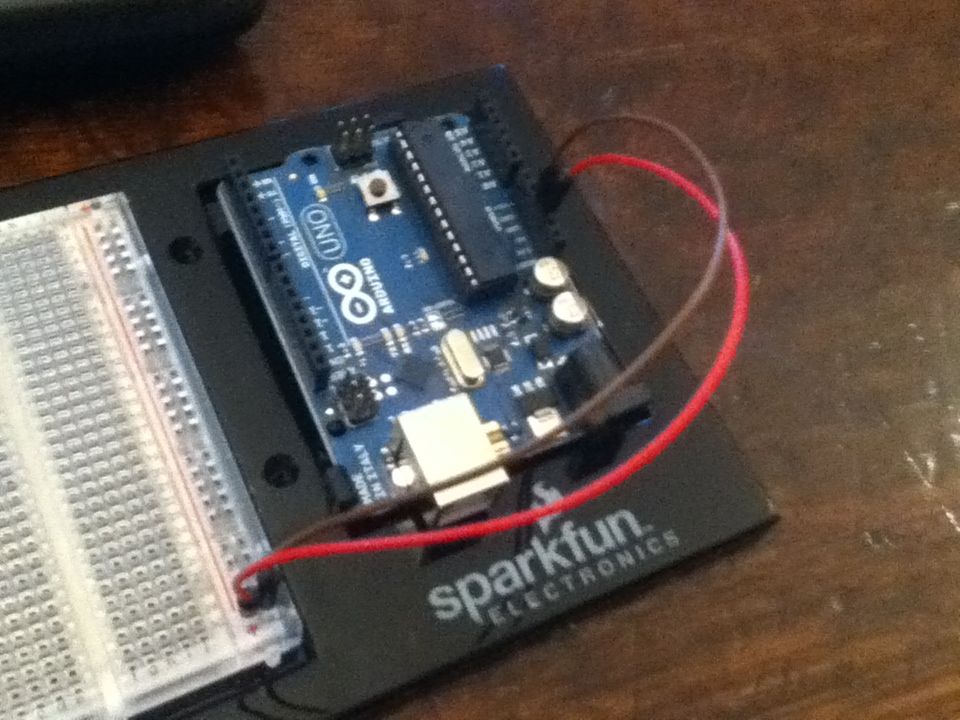
Step 5: Plug into computer
Now you need to plug the Arduino board into the computer. Nothing really to say here, just make sure that you don't break anything!
 |
| Connect Arduino to computer with USB cable - Photograph by Instructables |
Step 6: Upload the code to the device
I've attached the code here. All that you have to do is open it with the Arduino sketch program and click upload to device.
To do this perfectly, you have to ensure the following step:
1. You have to select the Arduino board type in your IDE. I'm using an Arduino UNO board. To choose the board, find Tools on menu bar. Choose the option "Board" >> select your correct Arduino board. I have chosen the Arduino/Genuino UNO. See the screenshot below.

2. The port number is assigned while installing the hardware drive of board. You can find the port number by accessing device manager on Windows. See the section Port (COM&LPT) and look for an open port named "Arduino Uno (COMxx)". If you are using a different board, you will find a name accordingly. What matters is the xx in COMxx part. In my case, it's COM3. So my port number is 3.
To select the right port, go to Tools >> Port >> Select the port number. Refer screenshot below.

3. We are going to upload the verified program in Arduino IDE to the Arduino board.
To do this, press the "upload" button (see the button with right arrow mark).

A click on the "upload" button will begin the process of burning the compiled program to Avr mircocontroller on your Arduino board. Depending on the size of your program, this will take a little time. If you look on your Arduino board, you can see the 2 LED's near Tx and Rx blinking. This is an indication of successful communication between your PC and Arduino board. If the program has been uploaded successfully, you will see a message like "Done Uploading". If the uploading process was not successful, you will see an error message accordingly.

Program Code:

My Robot Education Sdn. Bhd. (Robotedu.my) was founded in 2015 as the first robotics education centre in Malaysia to provide Arduino-based robotics courses for youths. Our vision is to be able to provide robotics education to every youth in Malaysia.


0 comments:
Post a Comment